After harvesting an elk, walking up to an animal of that size can be intimidating, especially if you are a long way from the truck. They are truly big animals. Moving it from Point A to Point B is going to be a challenge. Plus, the challenge isn’t just moving the animal – it’s doing so in a way that gives you the highest yield of excellent wild game meat and keeping that meat in great condition. As we said in our previous article on meat care, gamey taste is often the result of preventable mistakes being made in the field.
Whether you’re with friends or solo, it helps to have a game plan and some possible strategies in mind. When that animal is on the ground and the clock is ticking, it’s easy to feel pressured. Early in the season, we might feel pressured by warm temperatures. Later in the season we might feel pressured by oncoming darkness. No matter the situation, be confident in your game plan. Slow down, be careful and do it right.
There’s not one best strategy for packing out an elk. Every situation is going to be a little different. The distance from the road, the time of day, the weather and the terrain will all need to be considered.
Here are a few of our go-to strategies for moving an elk. What are your tips? Leave them in the comments below!

BONE IN OR BONE OUT?
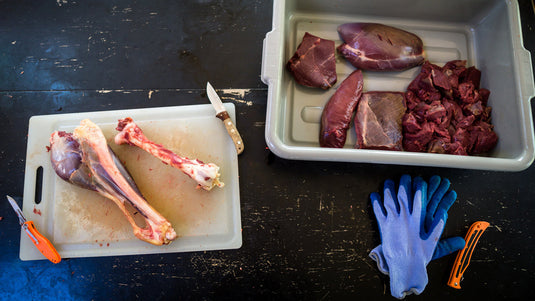
When at all possible, we like to leave meat on the bone. It offers a few distinct advantages. Bone-in meat is simply easier to deal with. The bone provides structure, making it easier to load and carry. But bone-in meat is also better for meat care. Boneless meat will have more surface area. This requires you to do more trimming at home and may result in a bit lower yield. Additionally, leaving meat on the bone through the rigor mortis process is beneficial. This usually takes 24 to 48 hours. Removing the bones prior to rigor mortis will cause muscle contraction known as ‘shortening’. This can lead to tougher meat. If the meat is allowed to go through rigor and then relax on the bone, it minimizes shortening, helping keep the meat more tender. And finally, boneless meat will be the first to spoil. Boneless meat tends to form a dense mass in a game bag. There are a few steps you can take to help cool boneless meat – but it’s something to be aware of.
Of course there are situations when boning out meat makes perfect sense. When you’re a long ways from the trailhead, every pound matters. This is especially true when you’re hunting solo. In these circumstances, the pros of boneless meat outweigh the cons – literally.
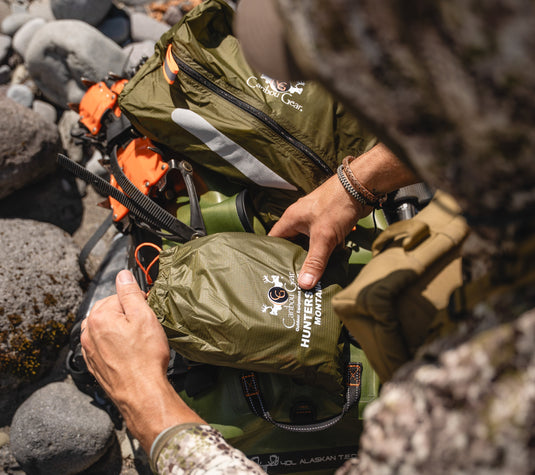
Since boned out meat spoils faster than bone-in meat, there are a few things you should do to help slow down that process. First, use game bags that are designed for boneless meat. The Caribou Gear Carnivore pack was designed exactly for that purpose. The long, tube-like shape of these bags helps keep the loose meat from balling up at the bottom. This promotes cooling and it also makes it easier to carry on your back. Also, periodically try and work the meat around in the bags to help cool meat that’s at the center of the mass. The faster you can cool that core temperature, the more time you have to pack it out and the better it will taste.

PROTECT THE MEAT
When moving an elk any distance, it’s critical to keep the meat protected. You’re going through all this effort to pack out a large animal; you want to keep as much as you can in great condition for the table.
There are three major factors that go into protecting wild game meat:
Keep it Clean
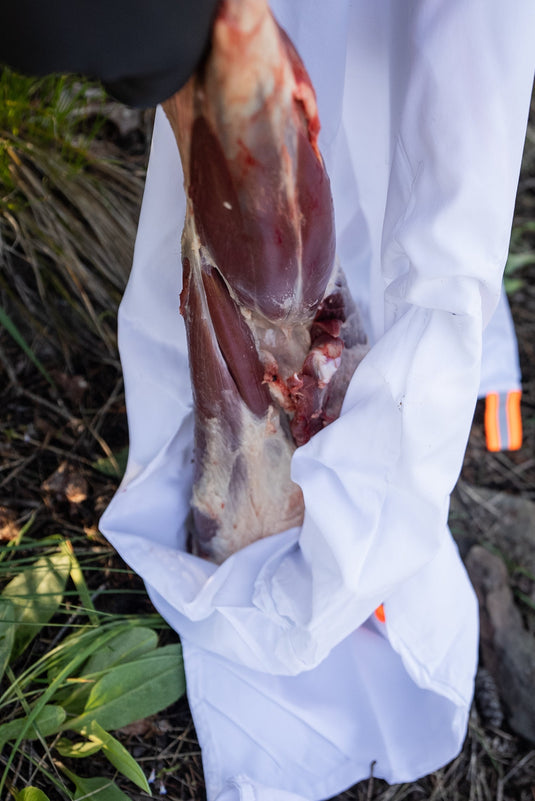
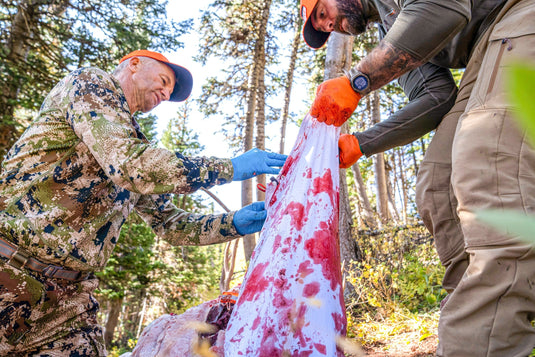
The first and perhaps the most obvious part of protecting the meat is to keep it clean. As you’re removing the hide, try and keep hair off the meat as much as possible. Do your best to keep the meat out of pooling blood. Any meat that’s soaked in blood is at a higher risk of spoilage. And of course keep any other bodily fluids off the meat. As you remove each quarter, place it as quickly as you can into a clean game bag and lay it on a clean surface like the Hunter’s Tarp while you continue working.
Cool it Down
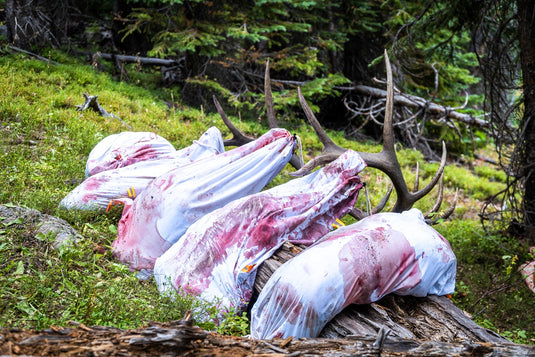
Next, find ways to cool the meat quickly. This looks different in every situation, depending on the landscape and the weather. At the very least, prop the quarters up so that they are leaning together like a tipi. This is better than laying flat on the ground, as air can circulate around them. Alternatively, you can lay them over logs. If possible, use branches or sticks to create a lattice so that air can flow under the meat. Or, if there are nearby branches, tie a piece of paracord around the knee joint and hang the quarters, for convenience we pre make paracord lashings. No matter which method you use, keep the meat in the shade. If necessary, hang a tarp to help shade the meat.
Keep it Dry
Finally, protecting the meat means keeping it dry. Wet game bags won’t breathe properly and will prevent the meat from forming a dry glaze on the outside, which is ideal. Wet meat is also a breeding ground for bacteria. To assist in retarding bacteria growth and keeping insects off the meat use game bag spray. The best possible scenario for your hard-earned wild game is to keep it clean, cool and dry. If you’re working in the snow, lay a Hunters Tarp on the ground to keep the meat from getting wet. If you need to hang the meat overnight or for any extended period of time, suspend the tarp over the meat to protect it from the sun, rain and snow.

MOVE IT AWAY FROM THE KILL SITE
BEARS - BIRDS AND COYOTES
If you’ll be making multiple trips to pack out the meat, we’d recommend first shuttling the meat away from the kill site. Scavengers will soon arrive at the gut pile and unused portions of the carcass. If the edible portions of meat are hanging at least hundred yards away in game bags, there’s less chance that an animal will bother with them.
Moving the meat to an alternative spot provides a couple of other advantages as well. It allows you to pick a strategic location that is cool and shady. This buys you more time to get the job done. Plus, it moves the whole load one step closer to your vehicle.
MAKING UP LOADS
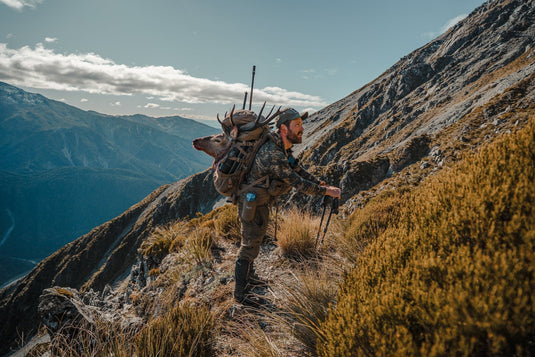
When it’s time to shoulder that first load back to the truck, how do you decide how you’re going to split everything up? There’s no right or wrong way to do it. The two elk hindquarters could be two loads in themselves. Then, a front quarter and backstraps could be taken together while the final front shoulder could be paired with the antlers.
There are many different ways you can slice it. Your decision may depend on your own physical abilities, the distance and the terrain. Remember this, however: it’s not worth risking an injury at this point in your hunt. Better to keep the loads manageable than to overdo it and hurt yourself or trash your legs on the first trip. Particularly in steep or nasty terrain – limiting each load to a reasonable weight may help keep your legs in better shape, even if it takes another round trip or two.

MAKE SHUTTLE TRIPS
When there’s a long distance between you and the trailhead, one strategy you might consider is to shuttle the meat in shorter bursts, rather than making one long trip to the truck and another long round trip back. For example, if you’re four miles from the road, take a load about two miles and find a good spot to hang it. Then, go back for the other loads. Continue running these shuttles until you’re finished.
Breaking the pack out into short trips doesn’t change the overall distance. But it gives you more frequent breaks. This aids recovery and helps prevent burning out your legs. While you’re making those two-mile walks back to the meat cache with an empty pack, take advantage of this recovery time to eat a snack and drink plenty of water. Especially when you’re at altitude, staying fueled and hydrated is a key to keeping your muscles happy.
What are your pack-out strategies?
How do you prefer to tackle a big job like this in a backcountry situation? Share your tips in the comments below.
No matter where your adventures take you, have a plan for getting that wild game meat home in excellent condition. If you have questions or need help with the gear or meat care tips, please let us know. Click here for our contact information. Best of luck out there this season!

By Zach Lazzari and Ryan McSparran


Good article on moving an Elk. Have used your game bags twice now and they are top notch. Got your Hunter’s Tarp before New Mexico hunt this year. What a great common sense piece of equipment. It is multi functional and sure came in handy on my son’s Bull. Thanks for the great products.
Consider using a sled, even if there is no snow on the ground. Plastic sleds will slide over grass with little effort, and if you have to cross over rocks, it will protect the meat. They will last many seasons when used in snow. In rocky terrain, you may have to replace the sled after 2 or 3 seasons. Tie a good piece of rope to the front with a short section of old garden hose so the rope does not cut into your hands. Do the same in the back with a shorter piece of rope. That allows you to control the load on level ground, going uphill and downhill. The last step is to make sure you have a way to lash the load into the sled. I like to lace rope around the perimeter of the sled to allow multiple attachment points. If it is all downhill, you can probably sled an entire elk out by yourself. If there is significant uphill, you can still handle half an elk by yourself. If you have help, you can probably get a whole elk out in one trip. “Indian Style” butchering reduces the weight of quarters considerably. It leaves the pelvis, backbone and ribs in the field, but still leaves you with quarters that are not shapeless blobs. If you have not tried this before, you can find videos online. It is much faster than trying to saw the spinal column or split the pelvis.