Backcountry hunts are a different beast and they require precision packing. You can’t warm up in the car and every piece of gear in the pack is extra weight your legs must carry. Packing is an art that requires a balance between needs and weight. The exact gear on your packing list will vary by season, location and species. But it pays to spend some time creating a checklist and working through your gear well in advance of the hunt.
Backpacks
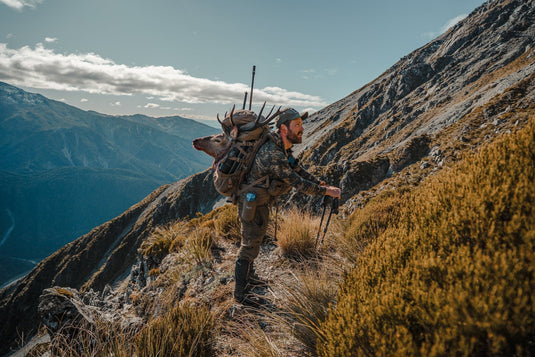
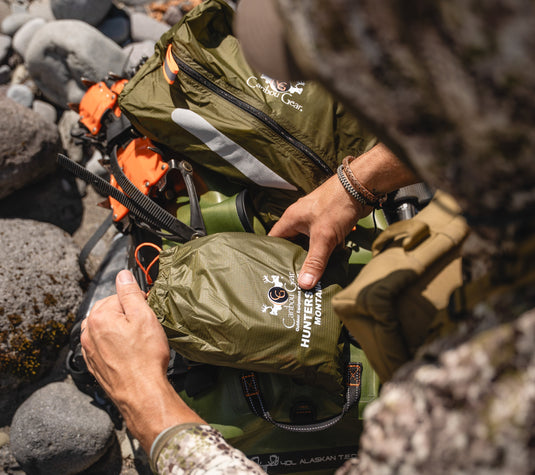
Backcountry hunts are different from a typical backpacking trip. You’ll be carrying a rifle or bow along with optics and a field dressing kit. A lightweight backpacking pack does work well but hunting-specific packs come with an edge.
The big advantages of choosing a hunting-specific design include the ability to carry a rifle or bow, pockets for your tripod and/or spotting scope, and a shelf between the bag and frame for carrying meat. Without a meat shelf, meat must be carried inside the bag - unless you make an extra trip back to the truck for a pack frame. However, the meat shelf keeps blood out of your bag, keeps your bag free to carry your other gear, and it keeps the weight of the load tightly secured against your back for the most comfortable and efficient load hauling. Carrying an elk quarter is never comfortable. But having a pack that’s designed for carrying heavy loads of meat certainly helps.
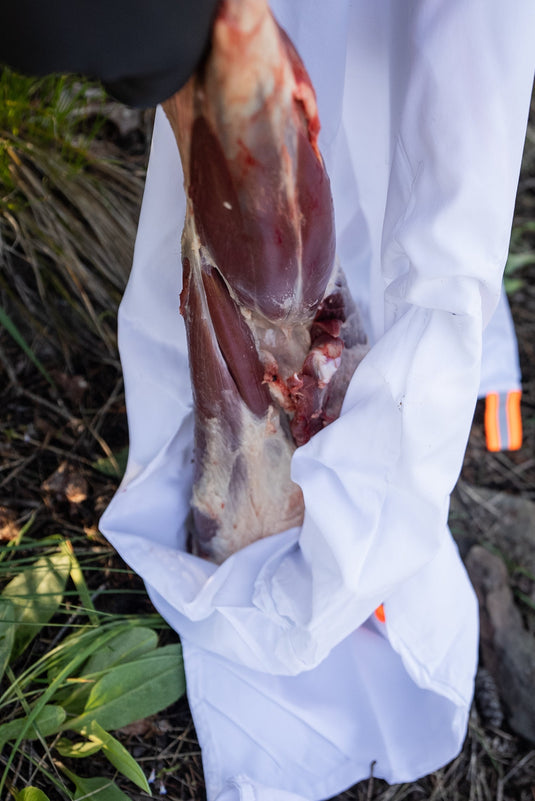
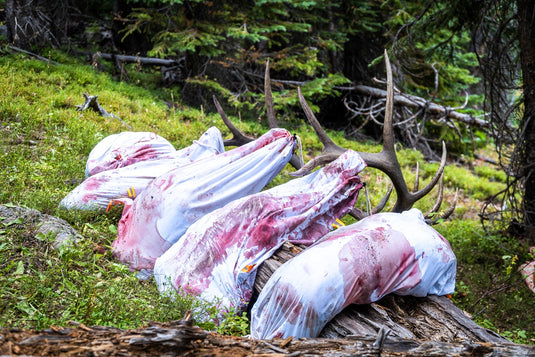
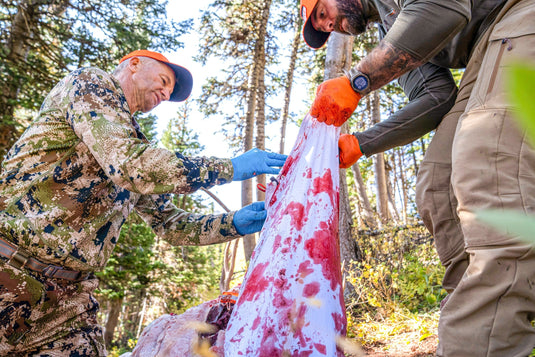
Whether you’ll be packing meat on a meat shelf or inside the bag itself, we’d highly recommend using a Hunter’s Tarp to swaddle each load. The Hunter’s Tarp is completely waterproof. Even under very heavy loads, blood will not seep through into your pack.

Sleep System
The tension between comfort and weight is especially pronounced in your sleep system. Simply put, the more spacious your tent and the warmer your sleeping bag, the more it’s all going to weigh. This is an area where investing in high quality gear is going to provide you with the highest comfort-to-weight ratio.
Many backpack hunters opt for floorless tents or tarp-style shelters because they provide excellent living space at a very little weight cost in their backpacks. Tarp style tents are great for early season use. They pack down small, relying on trekking poles for the setup. But if you’re planning a backpack hunt later in the season when freezing temps and snow are more likely, you’ll want something more substantial than a tarp. Companies like Seek Outside here in Colorado offer lightweight tents with packable titanium wood stoves, allowing hunters to comfortably hunt out of their backpacks even in wintery conditions.

Sleeping bags also carry that tension between comfort and weight. High quality sleeping bags that offer the best warmth-to-weight ratio aren’t cheap and can represent a significant investment for backcountry hunters. When choosing a sleeping bag, start by selecting a temperature rating that’s appropriate for the season, location and your own comfort level. Every hunter is different – some tend to sleep warm and others need more insulation even early in the season.
When it comes to warmth for weight, nothing beats high quality goose down. Keep in mind that not all goose down is the same. When looking at down bags, pay careful attention to the fill rating. A quality down bag will use at least 600-fill down. A bag with 800-fill down is even better. A higher number means higher quality feathers, requiring fewer feathers to achieve a certain loft and temperature rating. For example, a zero-degree bag that’s built with 600-fill down will weigh more than a zero-degree bag that’s built with 800-fill down. The bag with 800-fill down will also compress significantly smaller, taking up less room in your pack. Of course, it will also take a bigger bite out of your bank account.
The disadvantage of goose down is that it loses its insulating properties if it gets wet. Most sleeping bag companies now use hydrophobic treated down to battle this. However, if you hunt in a very wet climate like the Pacific Northwest, you might want to consider a synthetic sleeping bag, rather than down.
As you work to select a sleep system for your backcountry hunts, do your best to walk that line between weight, comfort and what your budget allows.
Cook System and Food
Technology in stove systems has significantly improved for backcountry travelers over the past decade. We can’t say enough good things about the Jetboil stove systems. These stoves are very fuel efficient, even in freezing and windy conditions. Less fuel means less weight in your backpack. In addition to your stove, pack a spoon and a lightweight cup.
Thanks to good freeze-dried meal options from companies like Mountain House and Peak Refuel, eating hot, tasty meals in the backcountry has never been easier. They offer excellent breakfast and dinner options. The biggest factor in planning your menu around these freeze-dried options is the availability of water. If water is difficult to access or if you have to haul water a long distance to your camp, be careful how much you rely on these rehydrated options.
Even when utilizing these lightweight meals, food can quickly become a heavy burden in your backpack. So carefully plan out your meals for every day of the hunt. For lunches and snacks, carry calorie dense foods like peanut butter and energy bars to fuel your body throughout the day.
Layering System
Clothing is one of your biggest investments and modern materials make for a more comfortable hunt. Avoid heavy items like heavily insulated jackets or bibs on a backpack hunt. Instead, rely on lightweight base layers, mid-layers and outerwear that can be mixed and matched to meet the quickly changing conditions. We've had great experiences with Sitka Gear layering systems.
Avoid cotton at all costs. Focus on merino wool or synthetic base layers as the foundation of your system. In your mid-layers, pack a couple of options from a synthetic fleece pullover to a lightweight puffy down jacket so that you’re ready for mild to cold conditions. And your outerwear should include quality pants and rain gear. Even in dry climates, rain gear is essential. When it’s not raining, you might find yourself busting through willows or spruce that are soaked with early morning dew. Or when glassing on a windy ridge, your rain gear is perfect for blocking the wind.

Boots are an important part of your clothing system. We highly recommend Kenetrek Boots for their extreme durability and for keeping your feet protected and in great shape through the most rugged terrain. No matter which brand you choose, go with a high quality boot that will last for years. Look for full grain leather uppers, a full rubber rand, a waterproof, breathable membrane and appropriate insulation for the season and location.
Don’t forget about your extremities. Pack quality merino wool or merino-synthetic blend socks. A beanie, gloves and gaiters can also make a big difference, depending on the season and the forecast. As much as you can afford, go for high quality clothing that insulates, breathes and cuts down on pack weight. Wear your layers to bed on cold nights to stay warm and manage layers appropriately throughout the day to stay comfortable in the backcountry.
As we’ve mentioned before, purchasing good gear won’t make you a better hunter. But to the extent that it keeps you comfortable, focused, and in the field longer, that does provide an edge toward success.
Water Purification
There are a myriad of water purification options, each with its pros and cons. Ask five backcountry hunters about their preferred method and you’ll likely get five different answers. When hunting in the Rockies, giardia is no joke - don't go without one.
If you’re hunting in a group or if you’ll need to purify large amounts of water at a time (like if you have to haul it some distance to your campsite) consider a high-capacity gravity filter like the Platypus Gravity Works. These filters allow you to collect large amounts of water at a time and filter it quickly on the spot, or carry it back to your campsite. The Katadyn Pocket Water Filter is a pump-style filter that is also very reliable and built to last.
If high volume filtration isn’t necessary in your situation, you might consider a lightweight squeeze-style filter like the Platypus Quick Draw Microfilter. The entire system, including the filter and the reservoir, weighs just 3.3 ounces. Alternatively, the Katadyn Hiker is a great choice for a safe and lightweight pump-style water filter.
Staying Charged
Some of the best technologies available to hunters these days are mapping systems like OnX hunt that turn your smartphone into a fully functioning GPS with topo, satellite and many other available layers. When paired with a Garmin InReach, your phone is also capable of sending messages and waypoints to friends and family anywhere in the world.
The only catch, is that you have to keep your device charged. If you’re carrying a camera, rechargeable headlamp, or any other electronics, you’ll need to keep those items fully charged as well. Fortunately, technology in charging systems has kept pace with the rest.

On backcountry hunts, we’ve had great success using a lightweight solar panel and battery pack from Goal Zero. If you’re hunting from a fixed camp location, simply leave the solar panel out where it will have the most direct sunlight throughout the day (Goal Zero systems are waterproof, so there’s no need to worry about weather). When you return to camp in the evening, plug your phone or other electronics into the charged battery pack. We’ve been able to keep camera batteries, phone, InReach and headlamp all indefinitely charged on long hunts, even in places with cloudy and rainy weather like British Columbia.
If you’ll be hunting only three or four days at a time, you can skip the solar panel and simply bring a charged battery pack. The Goal Zero Venture 35 will charge my phone up to three times. When kept in airplane mode, my phone will usually last a couple of days. A fully charged InReach can last a week. When in doubt though, bring a little more power than you need. It’s worth the peace of mind to keep everything running smoothly in the backcountry.
Keep in mind that batteries will drain much faster when hunting in cold weather. In fact, it can be a good idea to stash those items at the bottom of your sleeping bag in sub-freezing temps.
Finally, don’t forget to pack USB charging cords for your phone, headlamp and anything else that will require a charge.
Survival, First Aid and Repairs
No backcountry kit is complete without at least a basic first aid kit, survival essentials, and a few repair supplies. You can purchase a pre-made first aid kit, or it’s relatively easy to build your own. In a lightweight water-resistant bag, assemble some basic first aid items like disinfecting wipes, bandages, gauze, blister pads, an ace bandage, a wire splint, and a few basic medications like ibuprofen and Benadryl. We also recommend carrying a quick-clot powder and dermabond or superglue to treat larger wounds and cuts. Add a few survival basics like a lighter, waterproof matches, fire starter, emergency reflective blanket, zip-ties and a mini backup headlamp like the Petzl e+LITE.

In addition to first aid and survival basics, you should also bring some basic repair items. Instead of carrying a heavy roll of tape though, put a few wraps of duct tape around your Nalgene water bottle. And make a few wraps of electrical tape around your lighter. We also recommend carrying a small roll of GearAid Tenacious Tape – perfect for repairing a torn rain jacket, tent fly, or any similar items. Finally it’s always wise to carry a length of paracord for emergency repairs – although we’ll get to that in the kill kit below.
Optics
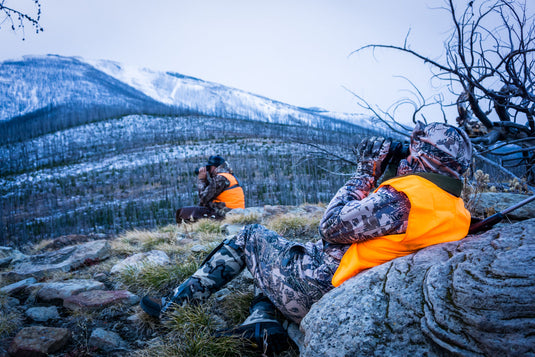
There’s not a lot to say about optics, other than they’re heavy – but essential. Bring what you need and don’t sacrifice your ability to locate game. Cutting weight from your backpack might have to come from other areas.
That said, be smart about the location, season and species you’ll be hunting so that you don’t over pack. For example, on many archery elk hunts where dark timber and close quarters are the norm, you probably don’t need to lug around a spotting scope.

Kill Kit
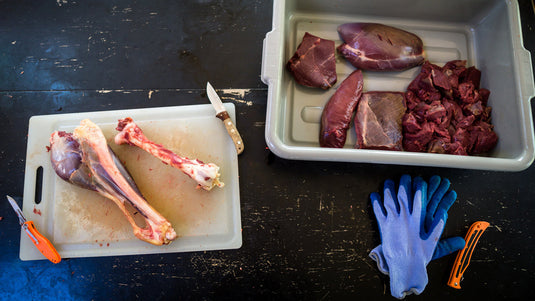
Whether you’re hunting a mile from the truck or ten miles, always carry a kill kit on your person. When an animal is on the ground, time is of the essence. Even if you’re not able to pack it out right away, you can at least quarter it, get the meat safely into game bags, and hang them where they can begin to cool.
In our backcountry kill kit we always carry game bags, knife, sharpener and/or spare blades, heavy duty nitrile gloves, citric acid spray, zip-ties for attaching the tag to the carcass (be sure to follow state specific laws for tagging), gallon zip bags for taking the heart and other organs, strong paracord for hanging the meat, hunting license, and a pen to sign the carcass tag where required. If you plan to remove the skullcap at the kill site, you’ll also need a packable bone saw.
Finally, we always have a lightweight Hunter’s Tarp in our pack at all times. Not only does it provide a clean surface where you can lay meat as you quarter an animal, it is also a waterproof liner to keep blood out of your pack. Plus, it can even serve as a glassing shelter in wet weather or where there’s no shade.
Keep your kill kit together in a lightweight water-resistant bag and keep it in your pack at all times. Don’t rely on getting back to camp or to the truck to fetch your kill kit. The sooner you can get the hide off and get meat hanging to cool in game bags, the better your end product will be. If you need help selecting the right game bag system for a specific hunt, please click here for a quick guide.

In the Truck
On your packing list, create an “In the Truck” category for backup items or emergency items that you’ll have back at the trailhead. For example, it can be wise to keep a backup pair of boots in your truck. If something goes south and your boots blow out or if you simply soak your boots in a creek, it’s nice to know you have a backup pair waiting for you. Other items to keep in the truck might include a rifle cleaning kit, backup archery parts and other tools or repair equipment.
You’ll also want to keep a cooler with frozen water jugs ready. When you arrive at the truck at midnight after packing out the first load of meat, you can get the meat into a cold cooler and rest up before going back for the next load – no need to drive into town for ice.
Finally, consider keeping a clean change of clothes at the trailhead. After a backpack hunt, it feels great to change out of your hunting gear and back into every-day clothing. That soft cotton t-shirt never felt so good.

All the Miscellaneous Things
In packing for your hunt, creating a detailed checklist becomes important so that you don’t forget any small – but essential – miscellaneous items. For example, you must have a good headlamp with spare batteries, a GPS or your smartphone with downloaded maps for offline use, a rangefinder with a spare battery, wind-check powder, tripod plates or adapters for your binoculars and other optics, sunglasses, toothbrush and paste, plus any essentials for your weapon – allen wrench, spare bow release, extra ammo, etc.
Start creating your checklist now and continue adding to it in the days and weeks approaching your hunt. The sooner you begin and continue adding to your checklist, the less likely you’ll be to forget something critical. Before you leave on the hunt, take the time to go through your checklist.
Contact Us With Questions
If you have questions or if you need help finding the right gear for your next backcountry hunt, please don’t hesitate to ask. The gear we carry here on the website are the items that we personally use and trust in the field. We’d be happy to answer your questions, and help you feel prepared for that next adventure.

By Zach Lazzari & Ryan McSparran


